Showing posts with label interior design photos. Show all posts

Tuesday, October 25, 2011

How to Interior Design: Feng Shui your face......./room


Interior design done Lee style
Circles give off the best kind of relaxation. For me I find the circular shape a meditative one, even though you will never find me
I used the old hold-a-pencil-piece-of-string trick where you have a pencil on one end of a string and the other end is your center of your circle. Just decide the size of your circles and trace away.
 meditating physically, or is it mentally? Well, I meditate while watching TV or people. So that must count for something. But, back to the point. Designing always involves a personal touch of whoever is making the intended atmosphere around the artwork. For me this was a must when I moved into my new apartment. I wanted a circle design along the wall because the layout had this section that stuck out already and so emphasizing this jutting wall with a softer touch was my first objective.

Bedroom Decor


World's oldest perfect circle maker

I used the old hold-a-pencil-piece-of-string trick where you have a pencil on one end of a string and the other end is your center of your circle. Just decide the size of your circles and trace away.


Monday, October 24, 2011

How to Design a Stencil: College poor-student style

Flying Fish Mural: Cost = $0
How to Design STENCILS: Make Sweet Rad and Handy stencils out of magazines to create DIY art murals. This is an easy step-by-step way to interior design a living room. 

Inspiration
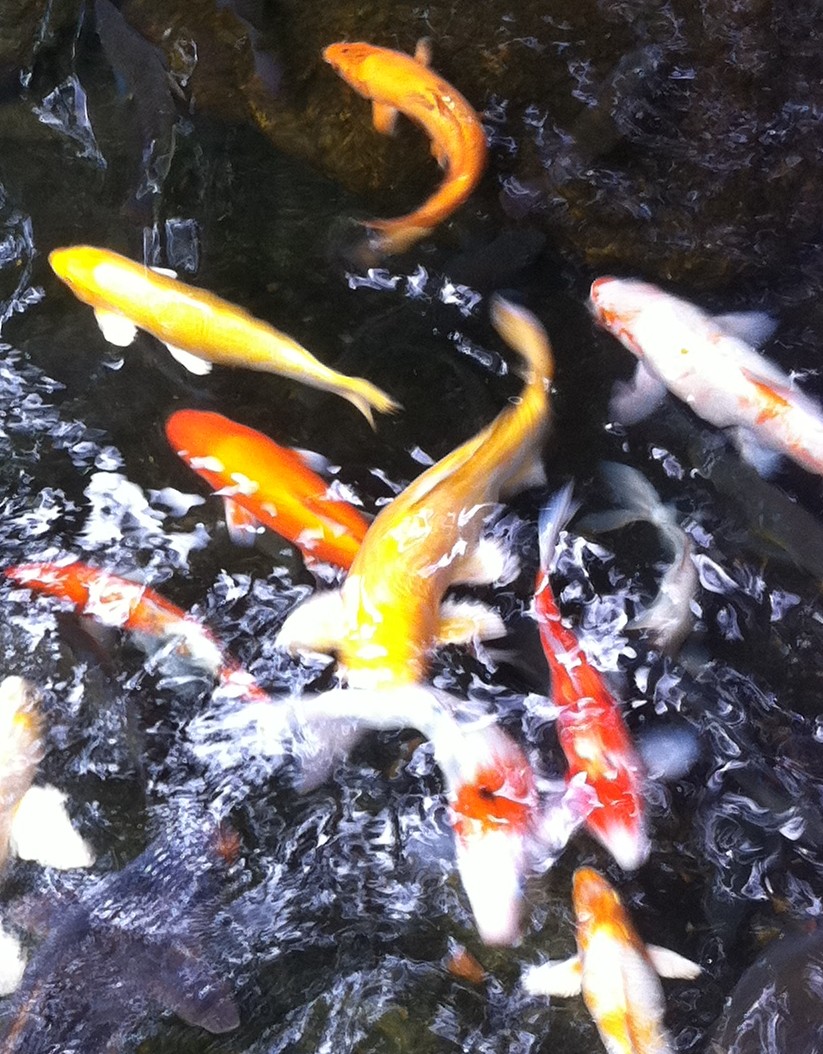
1. Pick out your tracing design. Choose anything from just simple shapes, like bikes, food, buildings, trees, words, wine glasses, men in suits, girls in bikinis, whatever you want. I chose Koi fish because I just went to a park that had huge ponds with Koi fish everywhere and decided to make an art mural. 


Trace or draw the main stencil
2. To make it easy for yourself, take a design from a magazine, or print a shape out and use that as your main stencil. I free-handed three different fish from pictures I took from the pond.


Cut out stencil
3. Pick out whatever color paper you want to use. If you use magazine paper you can take it off the wall easier than newspaper if you use stick glue to apply.
Make different styles


                                 4. Make as many as you want. Stack the paper on top for an easy multiple-at-one-time cuttings of each stencil. I just use a variety of paper that looks cool when turned into a stencil. For the fish

Sunday, October 23, 2011

How to Decorate with Recycled Materials Part 1: Murals

Chinese Garden design with Landscape Made with Magazines and Glue

For the bored, artsy, DIY-ers, recyclers, freegan-decoraters and anyone who enjoys making an unused space into artwork that is completely free!

Why buy posters? Why buy frames for pictures? Make them! Create your own in-home art murals with nothing more than magazines and stick glue. This first installation of DIY decorating will cover how to make homemade murals for your living space.

Pick a theme or design to work with

1. Come up with an idea of what you want as a mural. Think about the size. If you have a large space than consider doing a large landscape, or large animal mural. If it is a small space think about what kinds of things you are interested in or want to walk by everyday and see. For me I picked an outdoor scene on my living room wall to make the space more colorful and open than a plain white wall. Look up an image for what you are going to immulate onto your wall or work from scratch. I like to look at ideas online to think about what kind of a plan to follow.
Magazine paper is best for easy removal

2. Gather together old magazines (National Geographic works the best because of all the full color pages). Cut out the pages with large blocks of one color. Start compiling piles of pages and cut outs that are made up of one color (i.e. Green, Red, Orange, Yellow,etc...).                              
                                                                                                       3. Cut out multiple pieces of paper according to the kind of image you are going to make. This shape I use almost all the time as